G Cloud Albums allows you to organize your backed-up photos and videos into clean, custom, and easy-to-browse collections. With Albums, finding and sharing your favorite moments becomes simpler and more enjoyable.
What Is the Albums Feature?
The Albums feature helps you create personalized collections of your backed-up photos and videos. Whether you want to group travel memories, family events, or important work visuals, Albums let you organize your media efficiently within your G Cloud account.
How to Create a New Album
- Ensure your G Cloud app is updated to the latest version on your Android or iOS device.
- Open the G Cloud app.
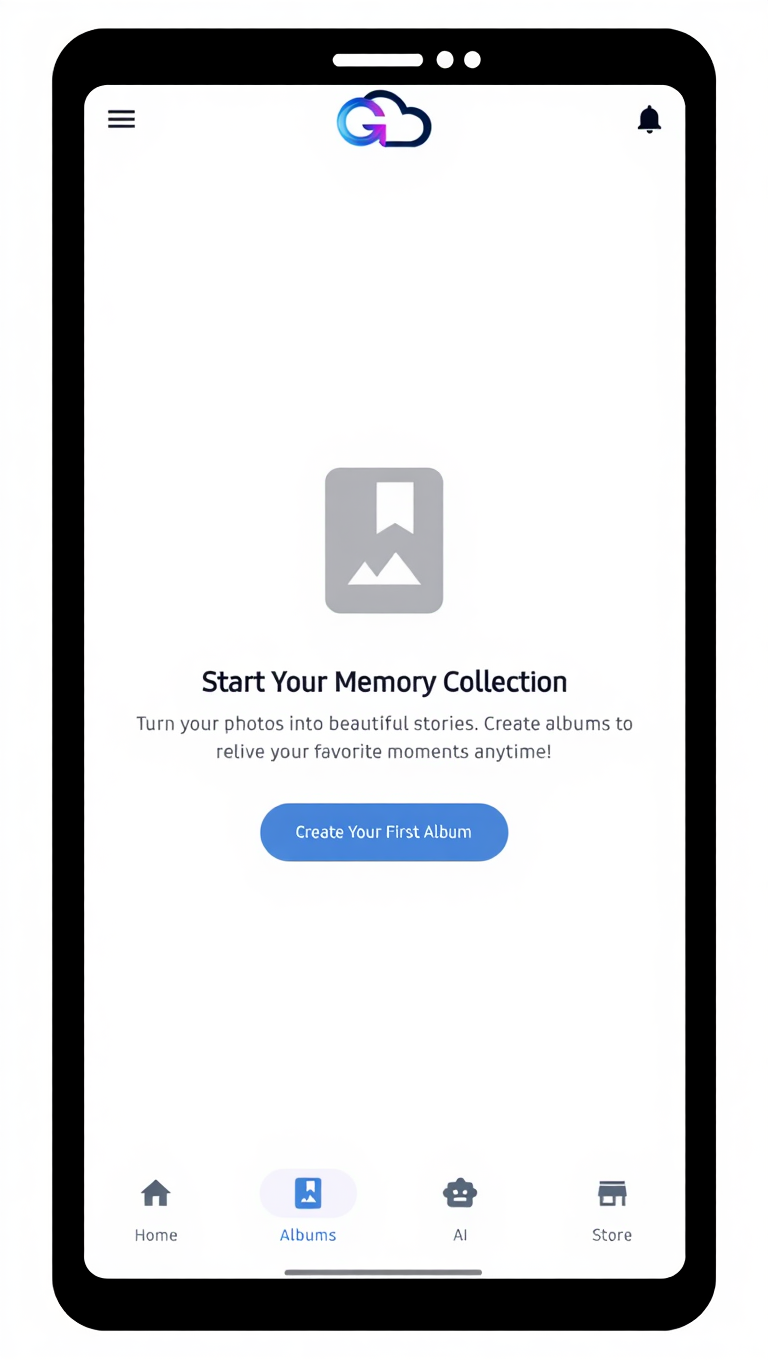
- Tap the Albums tab from the bottom menu.
- Tap the Create New Album icon.
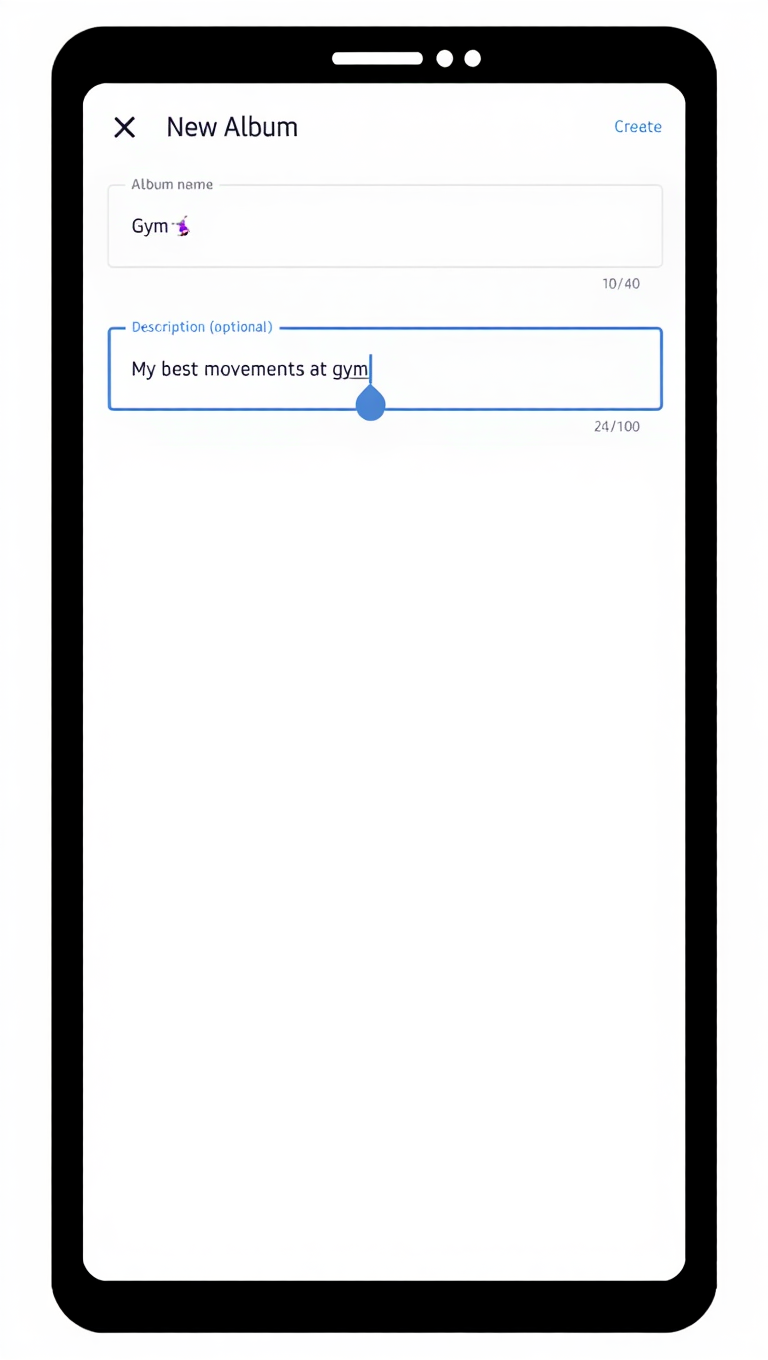
- Enter a name for your new album, a brief description (optional), and tap Create.
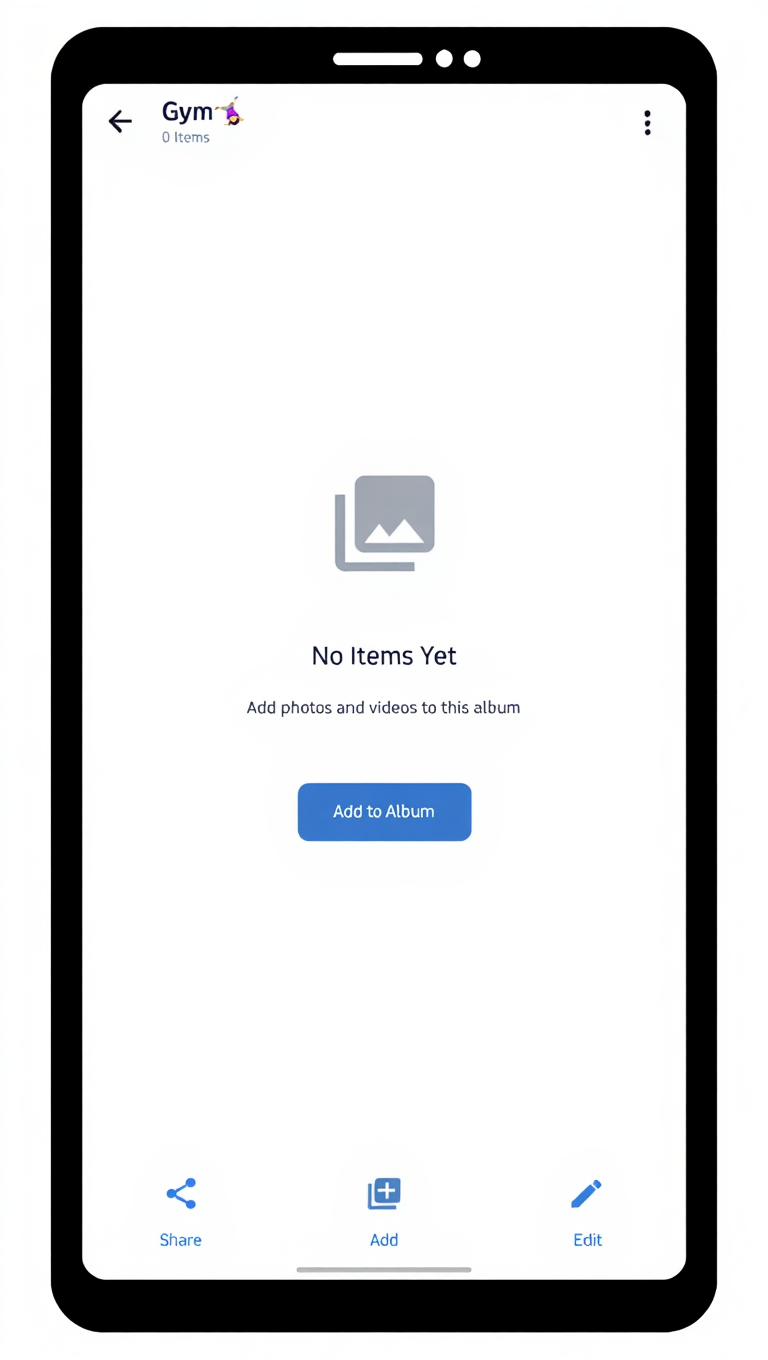
- Once the album is created, you can start adding photos and videos to it by tapping the Add to Album button.
Your new album will appear in the Albums list, ready for you to organize your media.
How to Add Items to an Album
Option 1 – Directly from the Home Screen
- Open the G Cloud app.
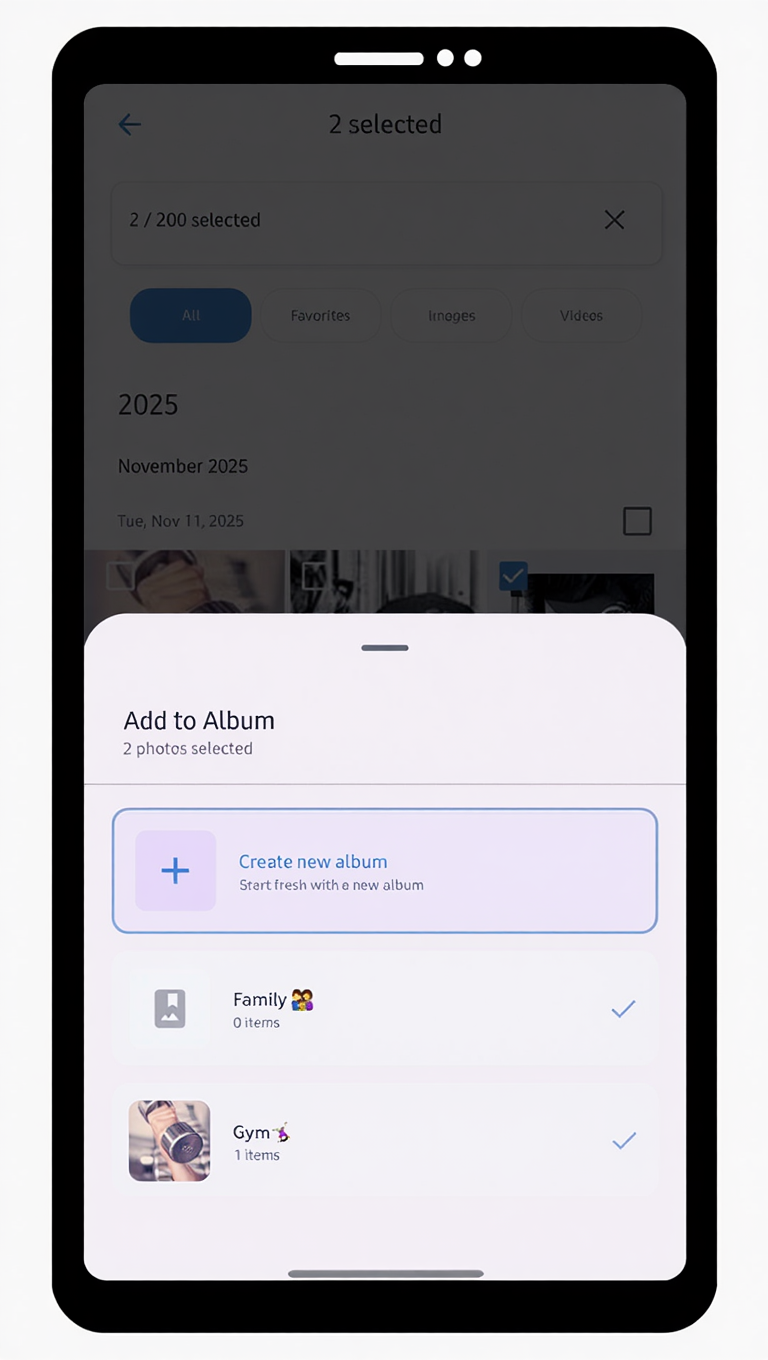
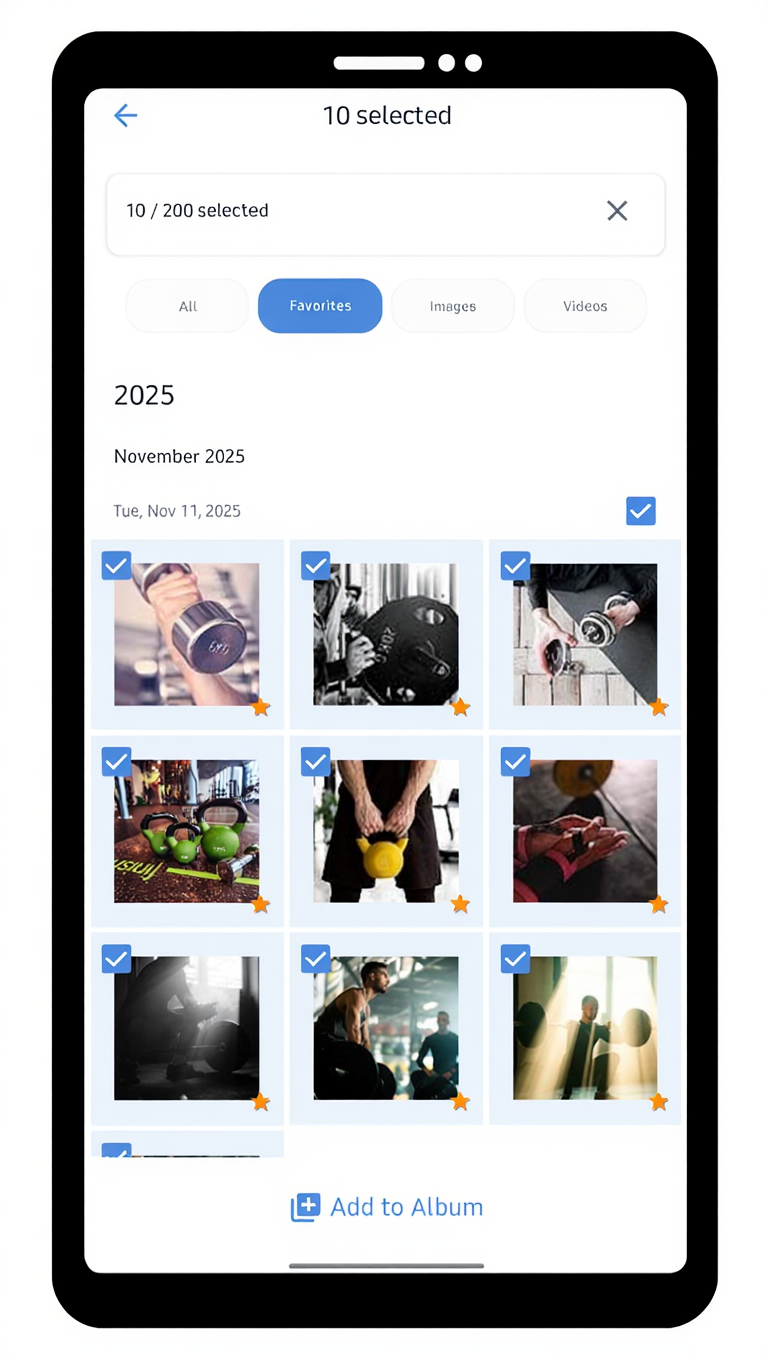
- From the Home screen, long-press the photo(s) and video(s) you need to add to an existing album and tap the Add to Album button.
- Select the album where you want to add the selected items to, or Create new album to add them.
Option 2 – From the Albums Screen
- Open the G Cloud app and go to the Albums screen.
- Select the album you wish to add media to.
- Tap the Add button there.
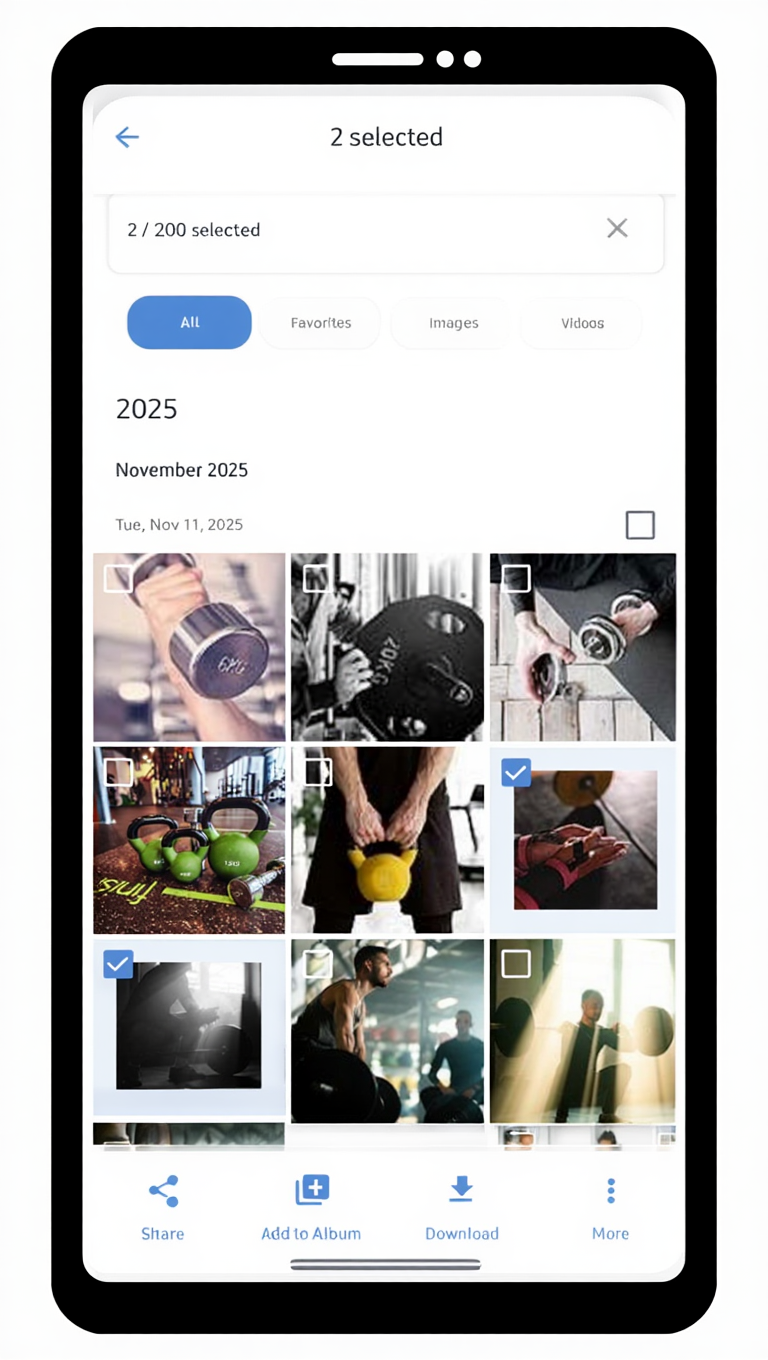
- Choose the backed-up photos and videos you want to include in this album.
- Tap Add to Album to confirm your selection.
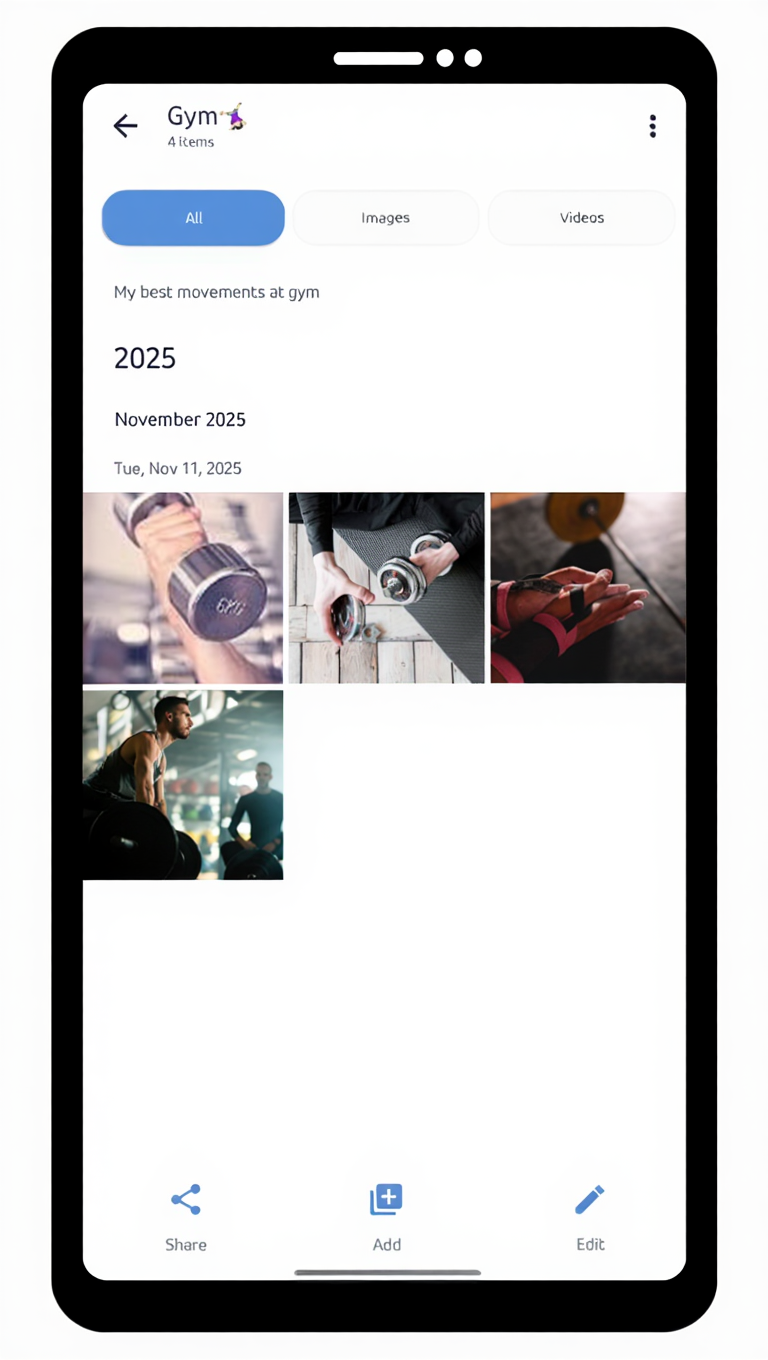
The selected items will now appear inside your chosen album, while still remaining safely stored in your backup.
How to Remove Items from an Album
- Open the G Cloud app and go to the Albums screen.
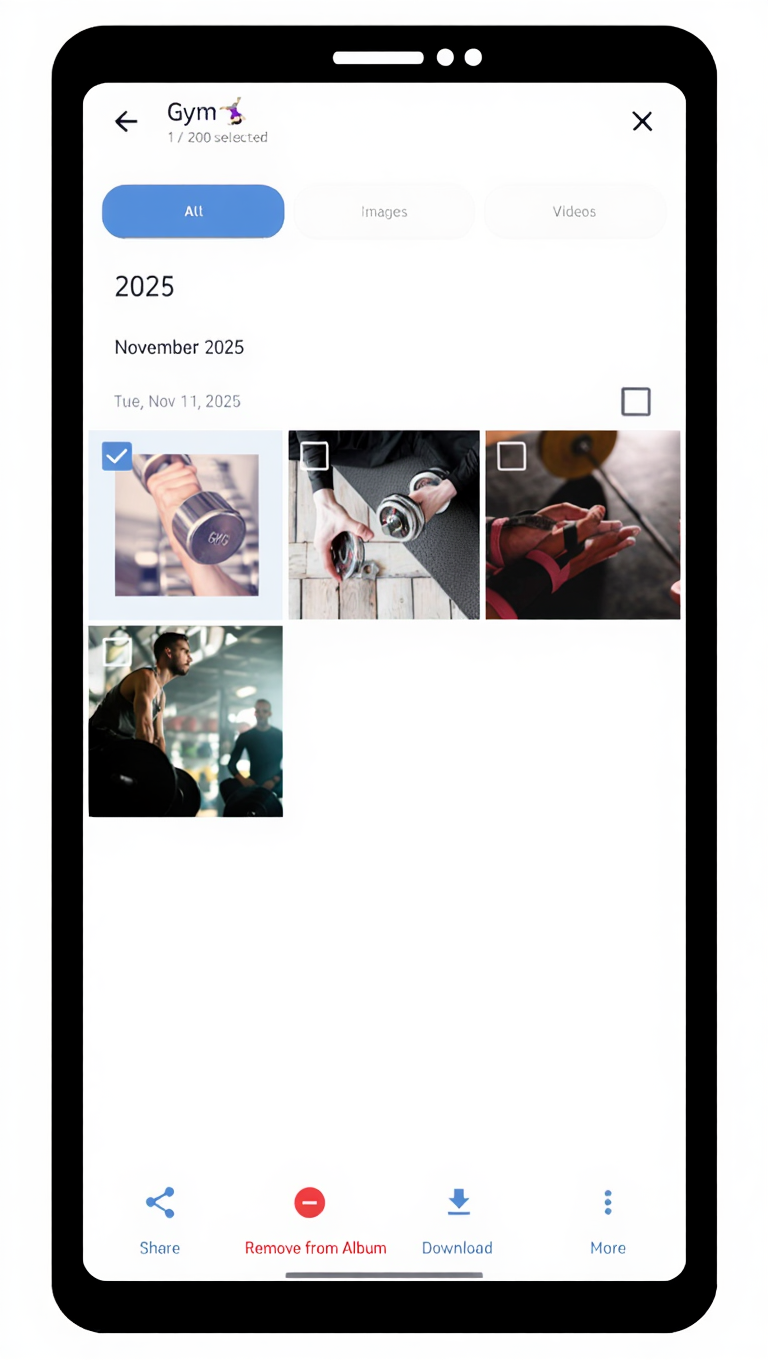
- Open the album that contains the item(s) you wish to remove.
- Choose the photo(s) or video(s) you want to remove by long-pressing them.
- Tap the Remove from Album button.
How to Share an Album
- Open the G Cloud app and go to the Albums screen.
- Open the album you wish to share.
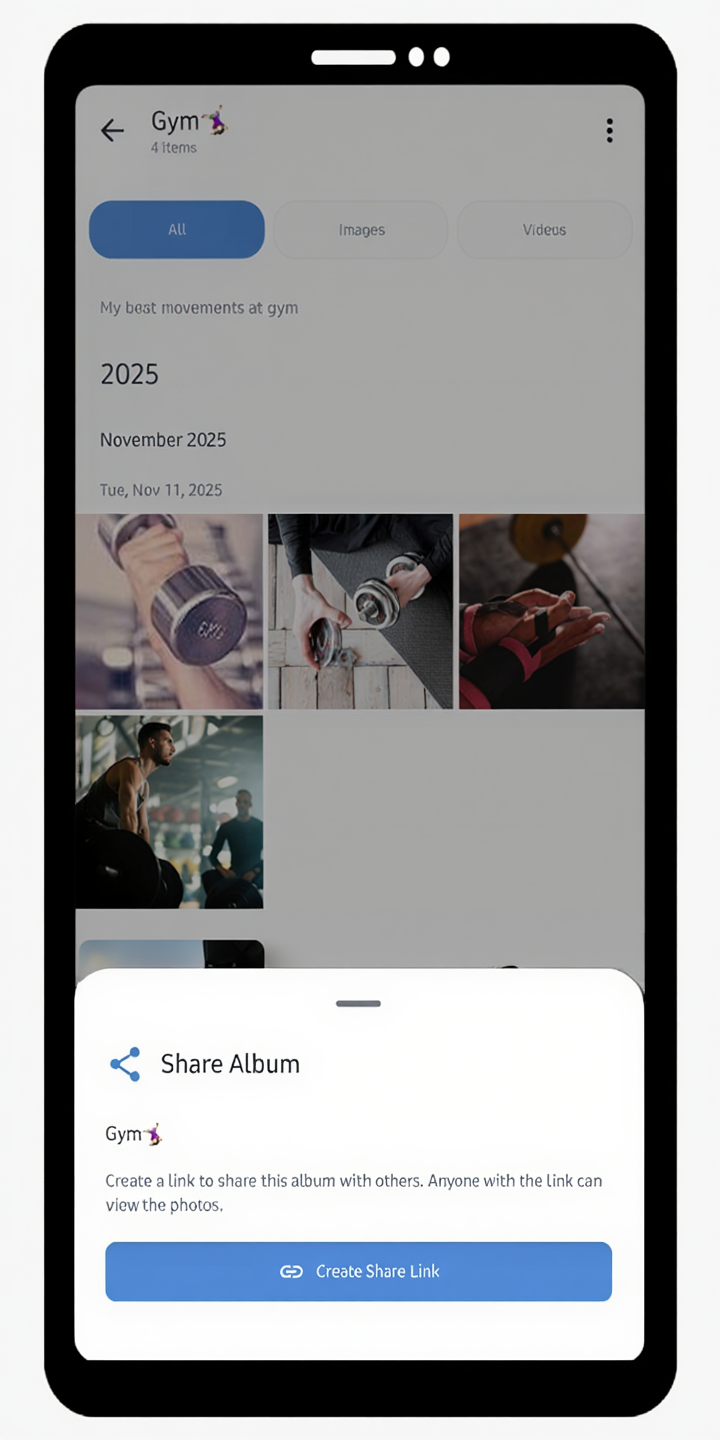
- Tap the Share icon.
- Tap the Create Share Link button to create a link to share this album with others.
- Choose your preferred sharing method (e.g., link sharing, email, or social media).
How to Stop Sharing an Album
- Open the G Cloud app and go to the Albums screen.
- Open the album you wish to stop sharing.
- Tap the Share icon.
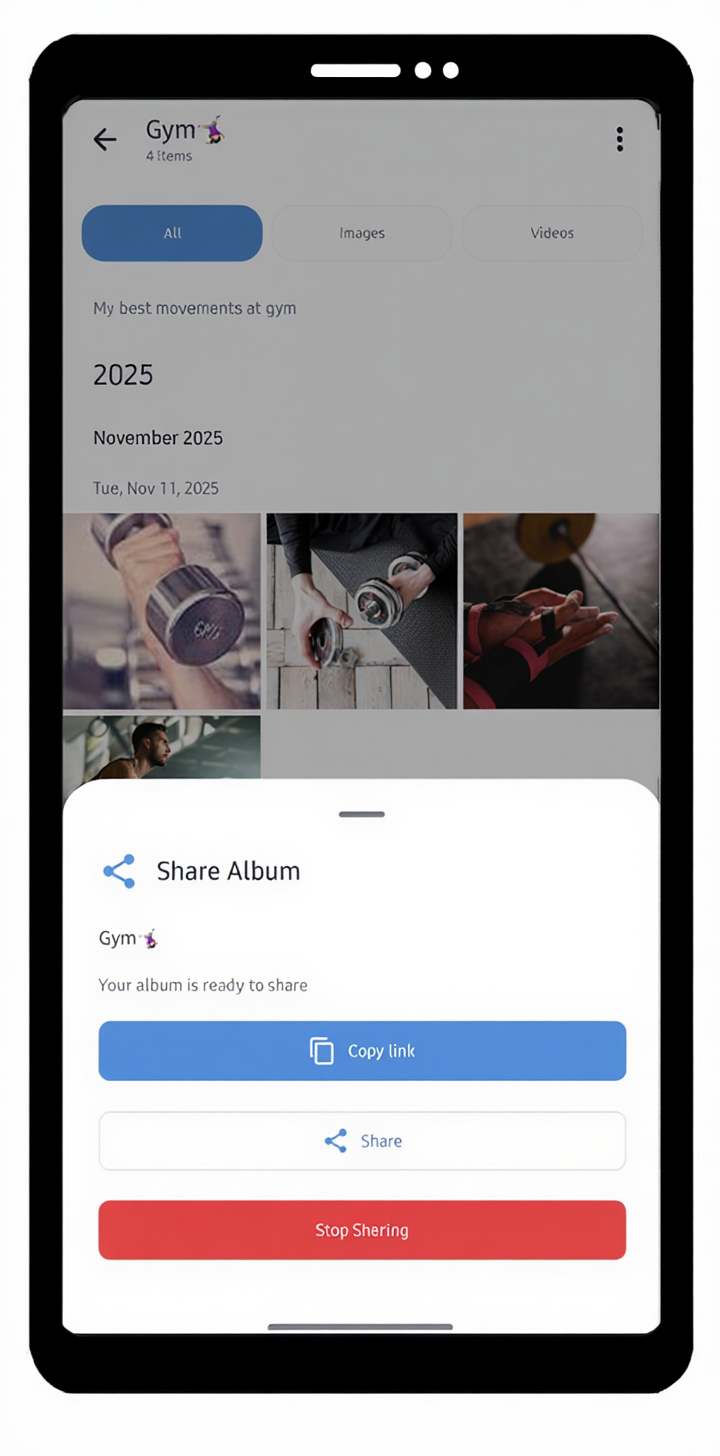
- Tap the Create Share Link button, then tap Stop Sharing.
This way, anyone who has a share link for this album will get “Album might be deleted or no longer shared” notification upon trying to access the shared album via their shared link.
How to Add/Change an Album’s Cover Photo
- Open the G Cloud app and go to the Albums screen.
- Open the album you wish to change its cover photo.
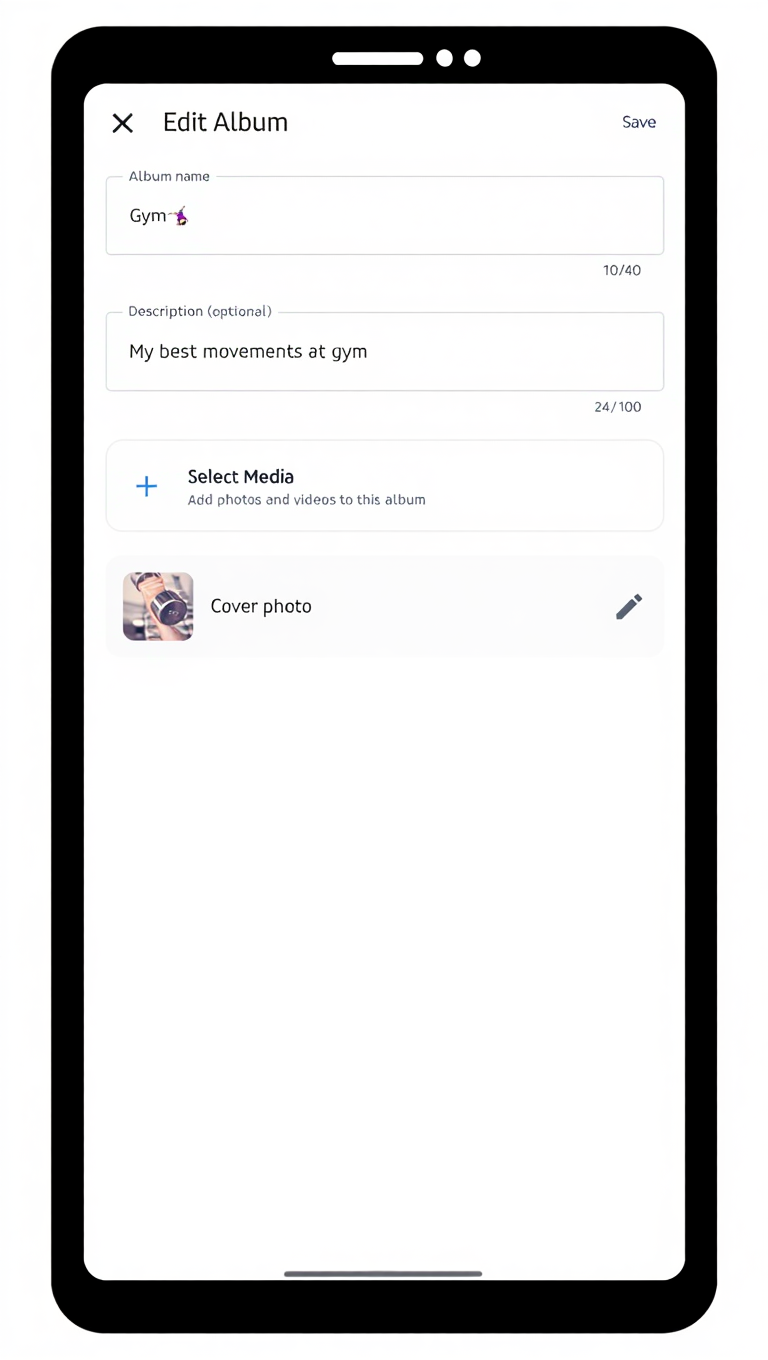
- Tap the Edit button.
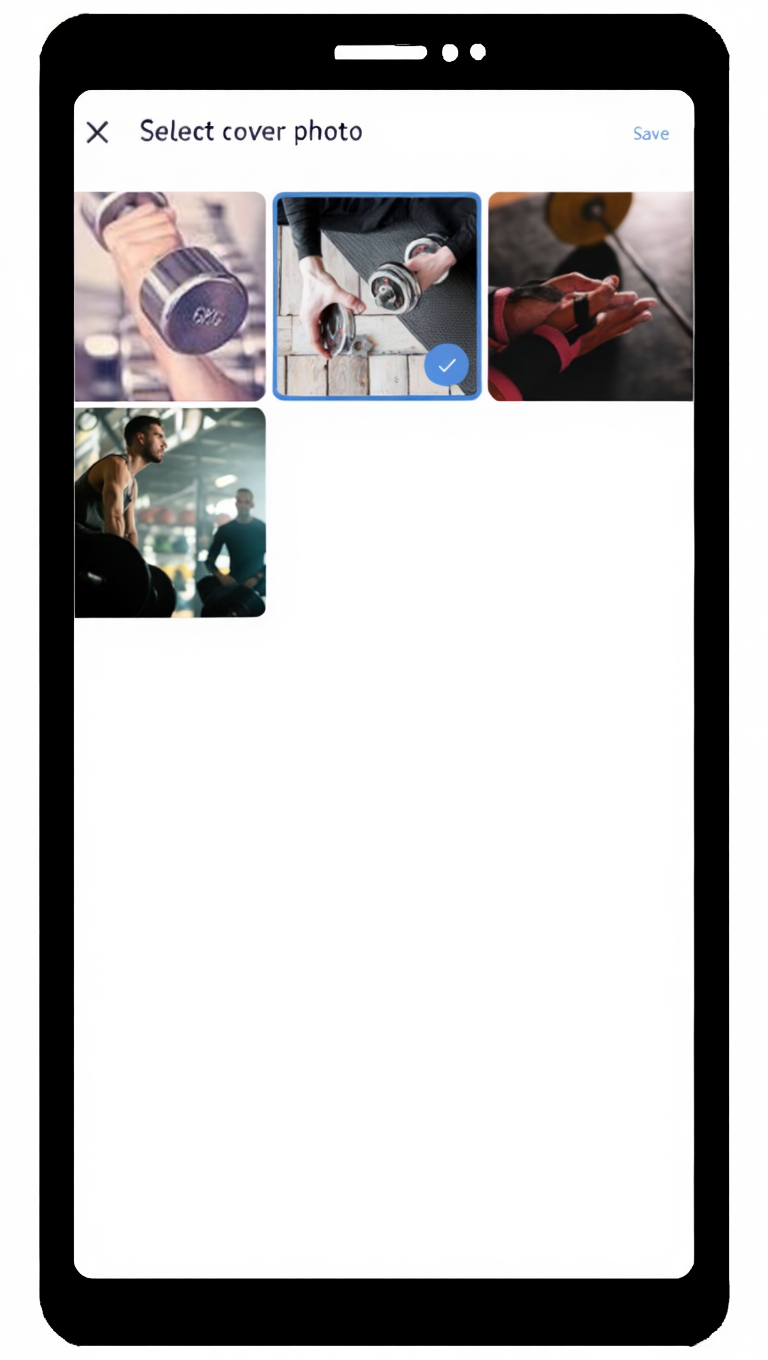
- In the Edit Album screen, tap the Cover photo option.
- Select a new cover photo for this album from the available options and tap Save.
- Tap the Save option at the upper-right corner of the Edit Album screen.
How to Delete an Album
- Open the G Cloud app and go to the Albums screen.
- Open the album you wish to delete.
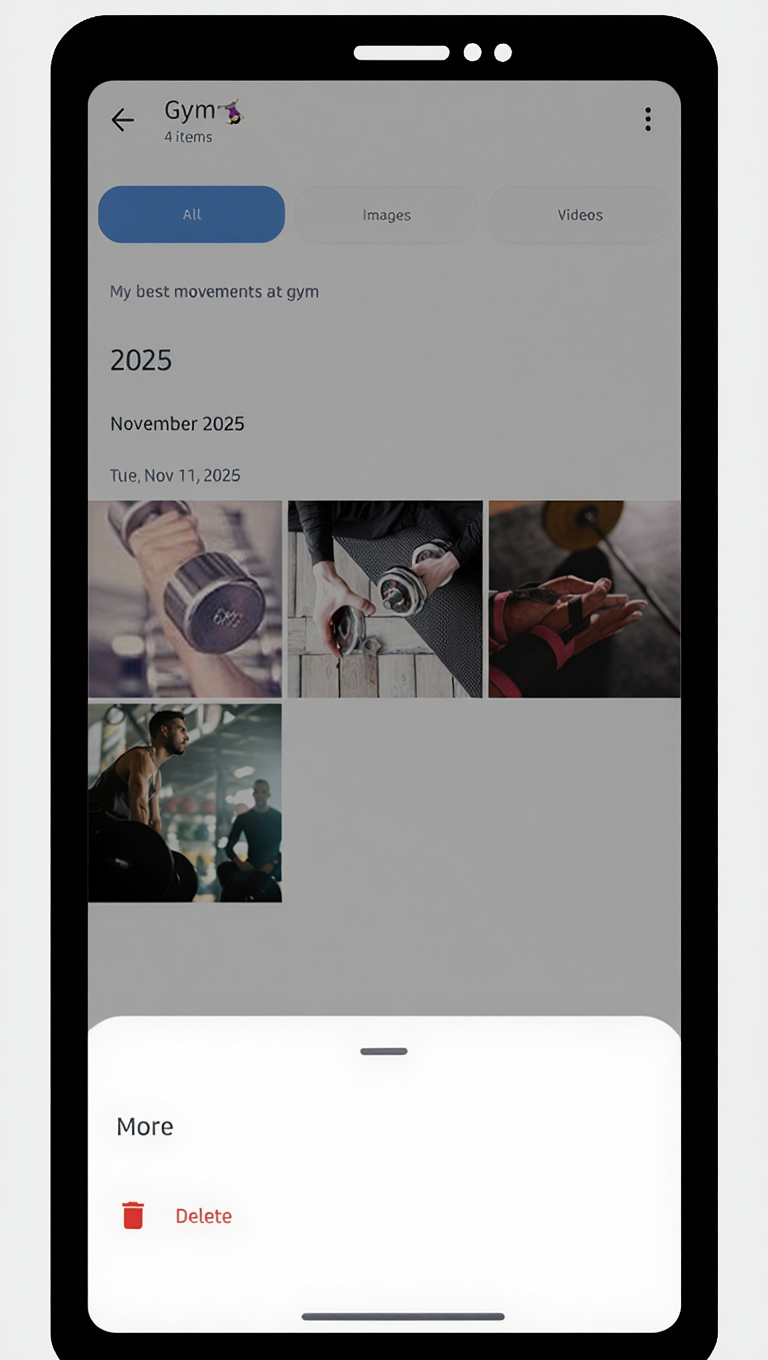
- Tap the More ⋮ icon in the upper-right corner, then tap Delete.
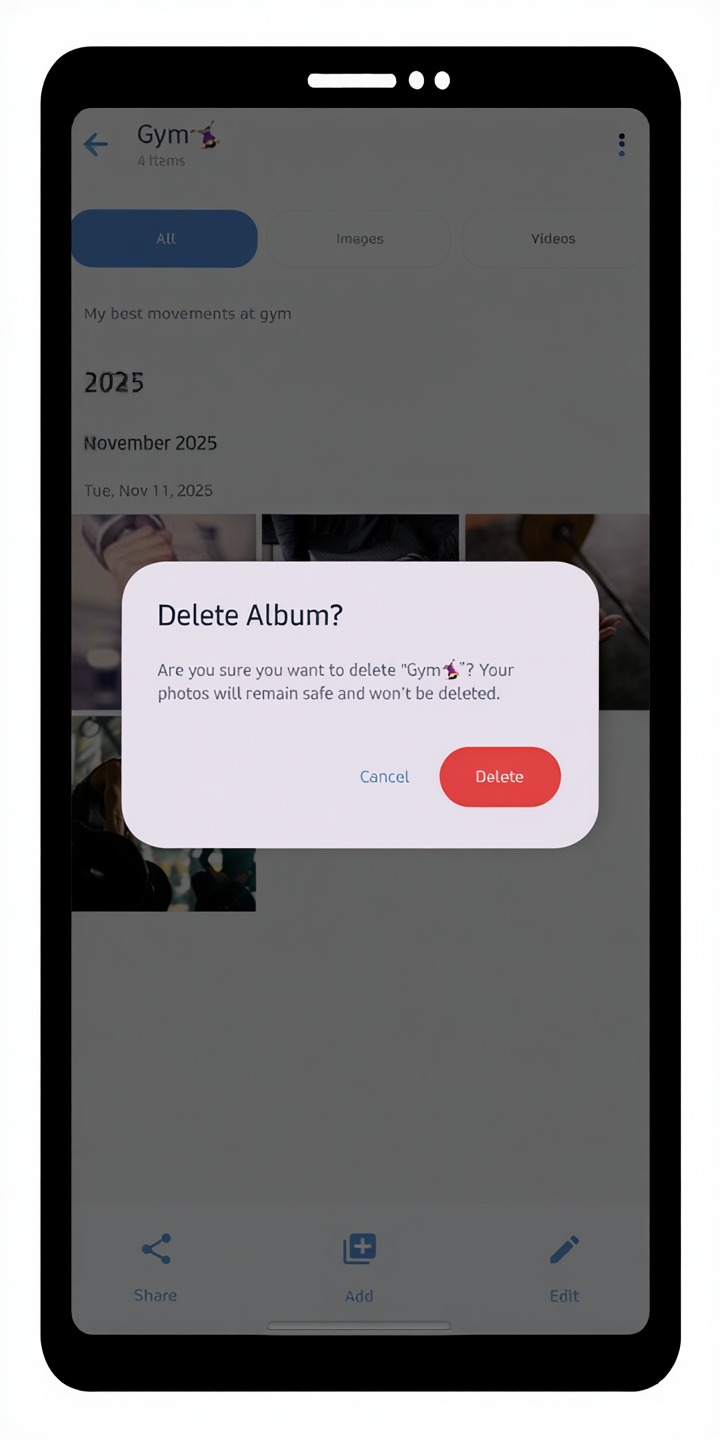
- Confirm your request by tapping the Delete button in the opened Delete Album? notification.