• < Back to GCloudBackup.com
  • Contact Us
GCloud Wiki
  • < Back to GCloudBackup.com
  • Contact Us

Getting Started with GCloud Backup: Installation, Setup, and Permissions Guide

/Device Backup and Management /Getting Started with GCloud Backup: Installation, Setup, and Permissions Guide

Introduction

GCloud Backup is a reliable cloud storage solution that helps users securely back up their important data, including photos, videos, contacts, and more. This guide provides step-by-step instructions on how to install, register, and grant the necessary permissions for the GCloud Backup app on both Android and iOS devices. Ensuring proper setup and authorization is crucial for a seamless backup experience.

Make sure to grant the GCloud app all the permissions it requests while following the steps below.


For Android Devices

System Requirements

  • The GCloud Backup app supports Android 8.0 or higher.

Installation & Setup

  1. Install the GCloud Backup app on your smartphone.
  2. Open the installed GCloud Backup app.
  3. Tap the Get Started button.
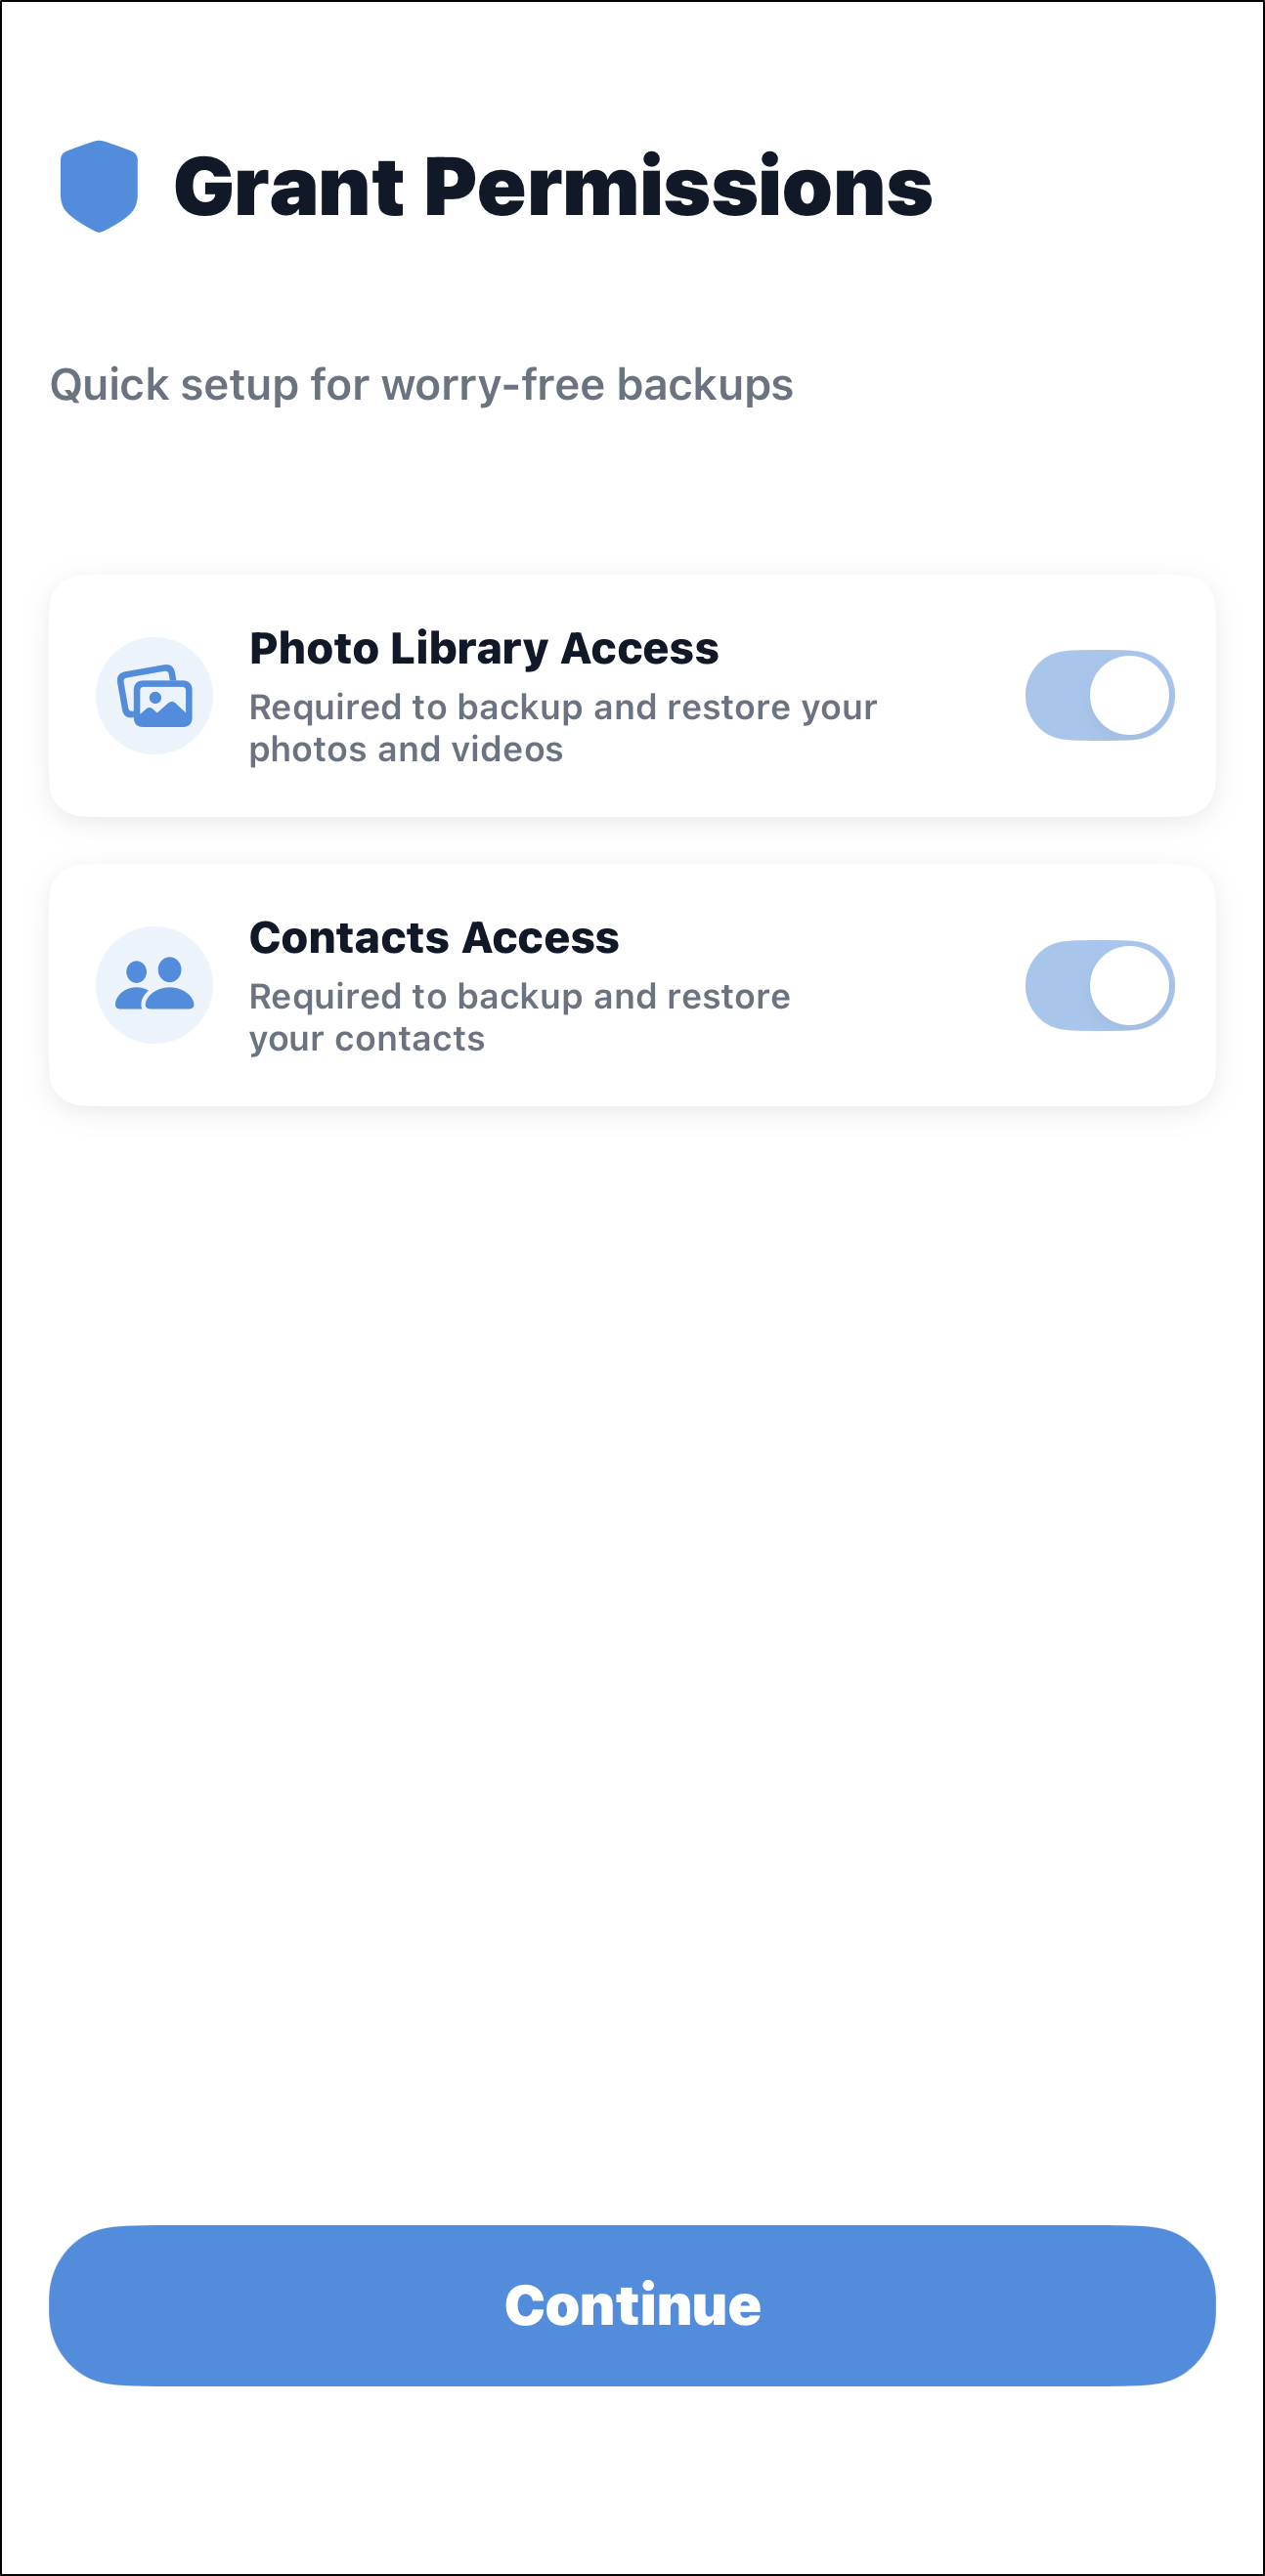
  4. If you have an invitation code from a friend, tap I have an invitation code, enter it, and redeem extra storage for free.
  5. Choose a registration method:
    • Continue with Google: Select the Google ID to use for your GCloud Backup account. No additional email confirmation is required. You must always sign in using Continue with Google to access your account via the app or website.
    • Continue with Email: Complete the registration form with a valid email address and a strong password. After submission, an email from noreply@gcloudbackup.com with the subject “Verify your account” will be sent to your inbox. Check both Inbox and Spam folders, then click Confirm to activate your GCloud Backup account.
  6. Select the data you want to back up and tap the Save button.


For iOS Devices

  1. Install the GCloud Backup app on your smartphone.
  2. Open the GCloud Backup app.
  3. Tap Don’t have an account? to sign up.
  4. Choose a sign-up method:
    • Sign up with Apple: Select your Apple ID. No email confirmation is required. Always use Sign in with Apple to access your GCloud Backup account.
    • Sign up with Google: Select your Google ID. No email confirmation is required. Always use Sign in with Google to access your GCloud Backup account.
    • Sign up with Facebook: Select your Facebook ID. No email confirmation is required. Always use Sign in with Facebook to access your GCloud Backup account.
    • Sign up with Email: Complete the registration form with a valid email address and a strong password. After submission, an email from noreply@gcloudbackup.com with the subject “Verify your account” will be sent. Check both Inbox and Spam folders, then click Confirm to activate your GCloud Backup account.
  5. By default, all selections will display as (Not Authorized). Pop-ups will appear requesting permission to access content. Tap Allow to grant access.
  6. Once permissions are granted, select the data you want to back up and tap the Save button.


Tagged: appleconfirmcreateemailfacebookGoogleregistersign up

Related Articles

  • Access and Log in to Your GCloud Backup Account

  • Managing Devices on Your GCloud Backup Account

  • GCloud Backup: Supported Data Types

  • Share Date with GCloud Backup

  • Rename Device under GCloud Backup Account

  • Maximizing Backup Efficiency: Tips for Faster Backups on GCloud Backup

Category Menu

  • About GCloud
  • Device Backup and Management
  • Restore
  • Purchasing
  • Earn Space
  • Other
  • Contact Us
  • Release Notes (What’s New!)
Contact Us
 
© Copyright, GCloud Backup