G Cloud Backup offers Android users the ability to run automatic backups in the background, with flexible scheduling options. This guide provides a detailed walkthrough for configuring automatic backups using the G Cloud Backup app on Android devices.
How to Automate G Cloud Backup
Step 1. Ensure that your G Cloud Backup app is updated to the latest version.
Step 2. Open the G Cloud Backup app.
Step 3. Tap the Menu ≡ icon located in the upper-left corner, then tap Settings.
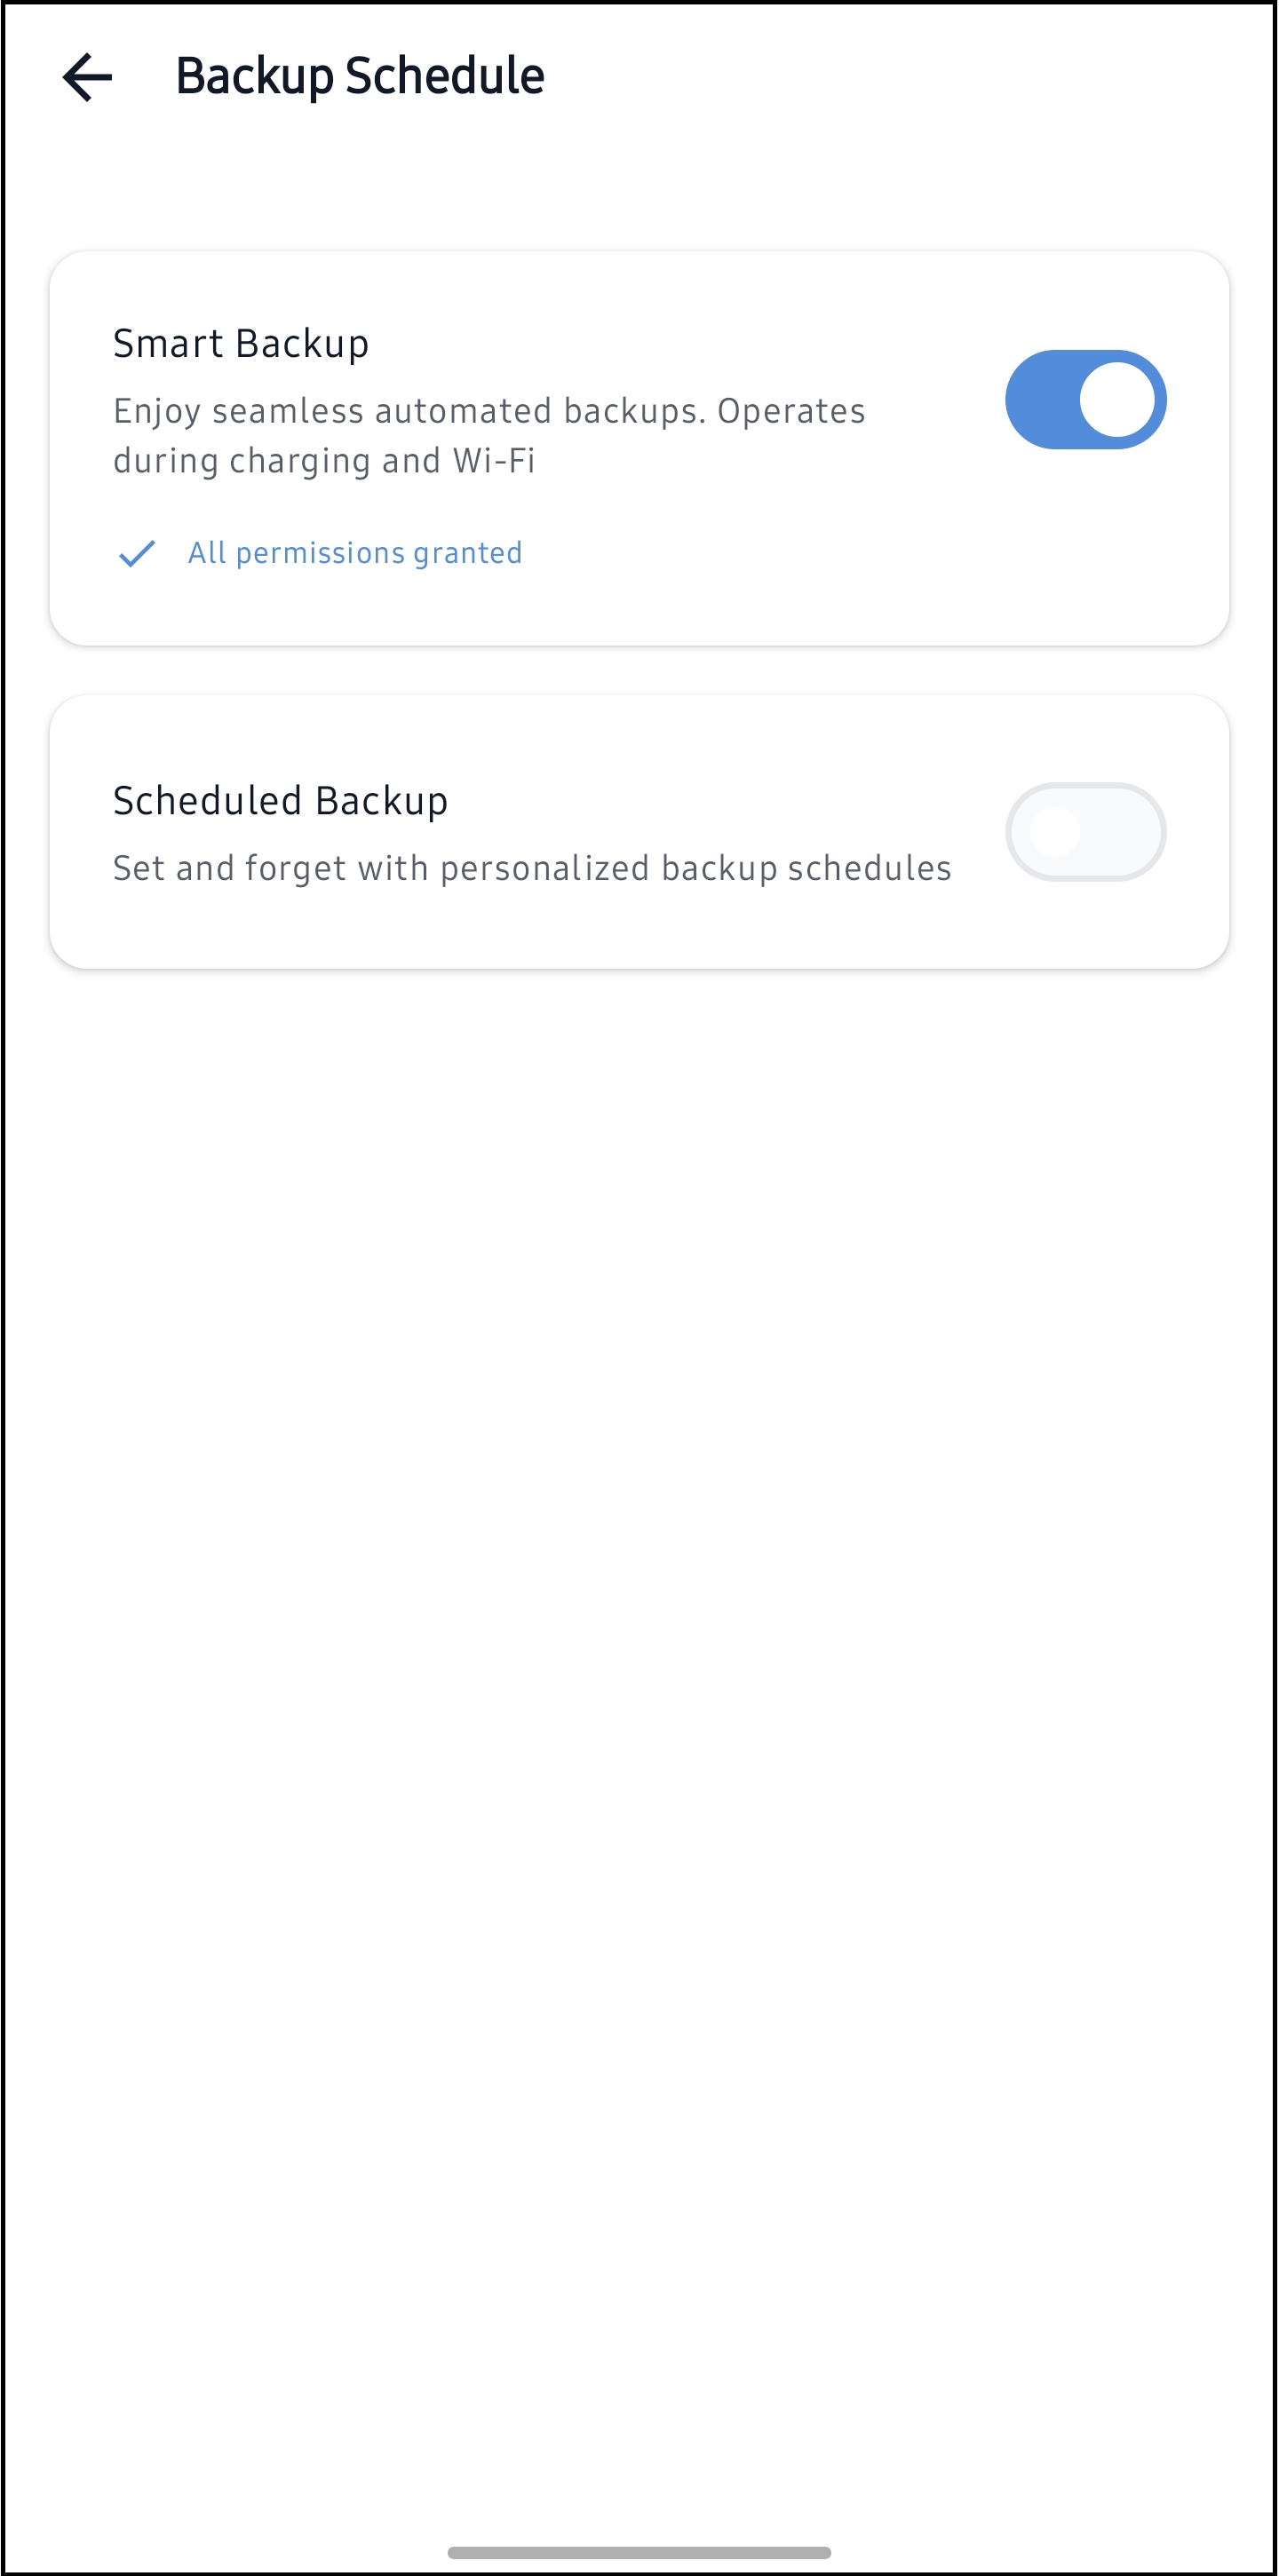
Step 4. On the Settings screen, tap Backup Schedule.
Step 5. Choose your preferred backup option from the following:
- Smart Backup: Automates backups every hour when your device is connected to WiFi and your battery percentage is not low.
- Scheduled Backup: Allows you to set a specific time for automatic backups.
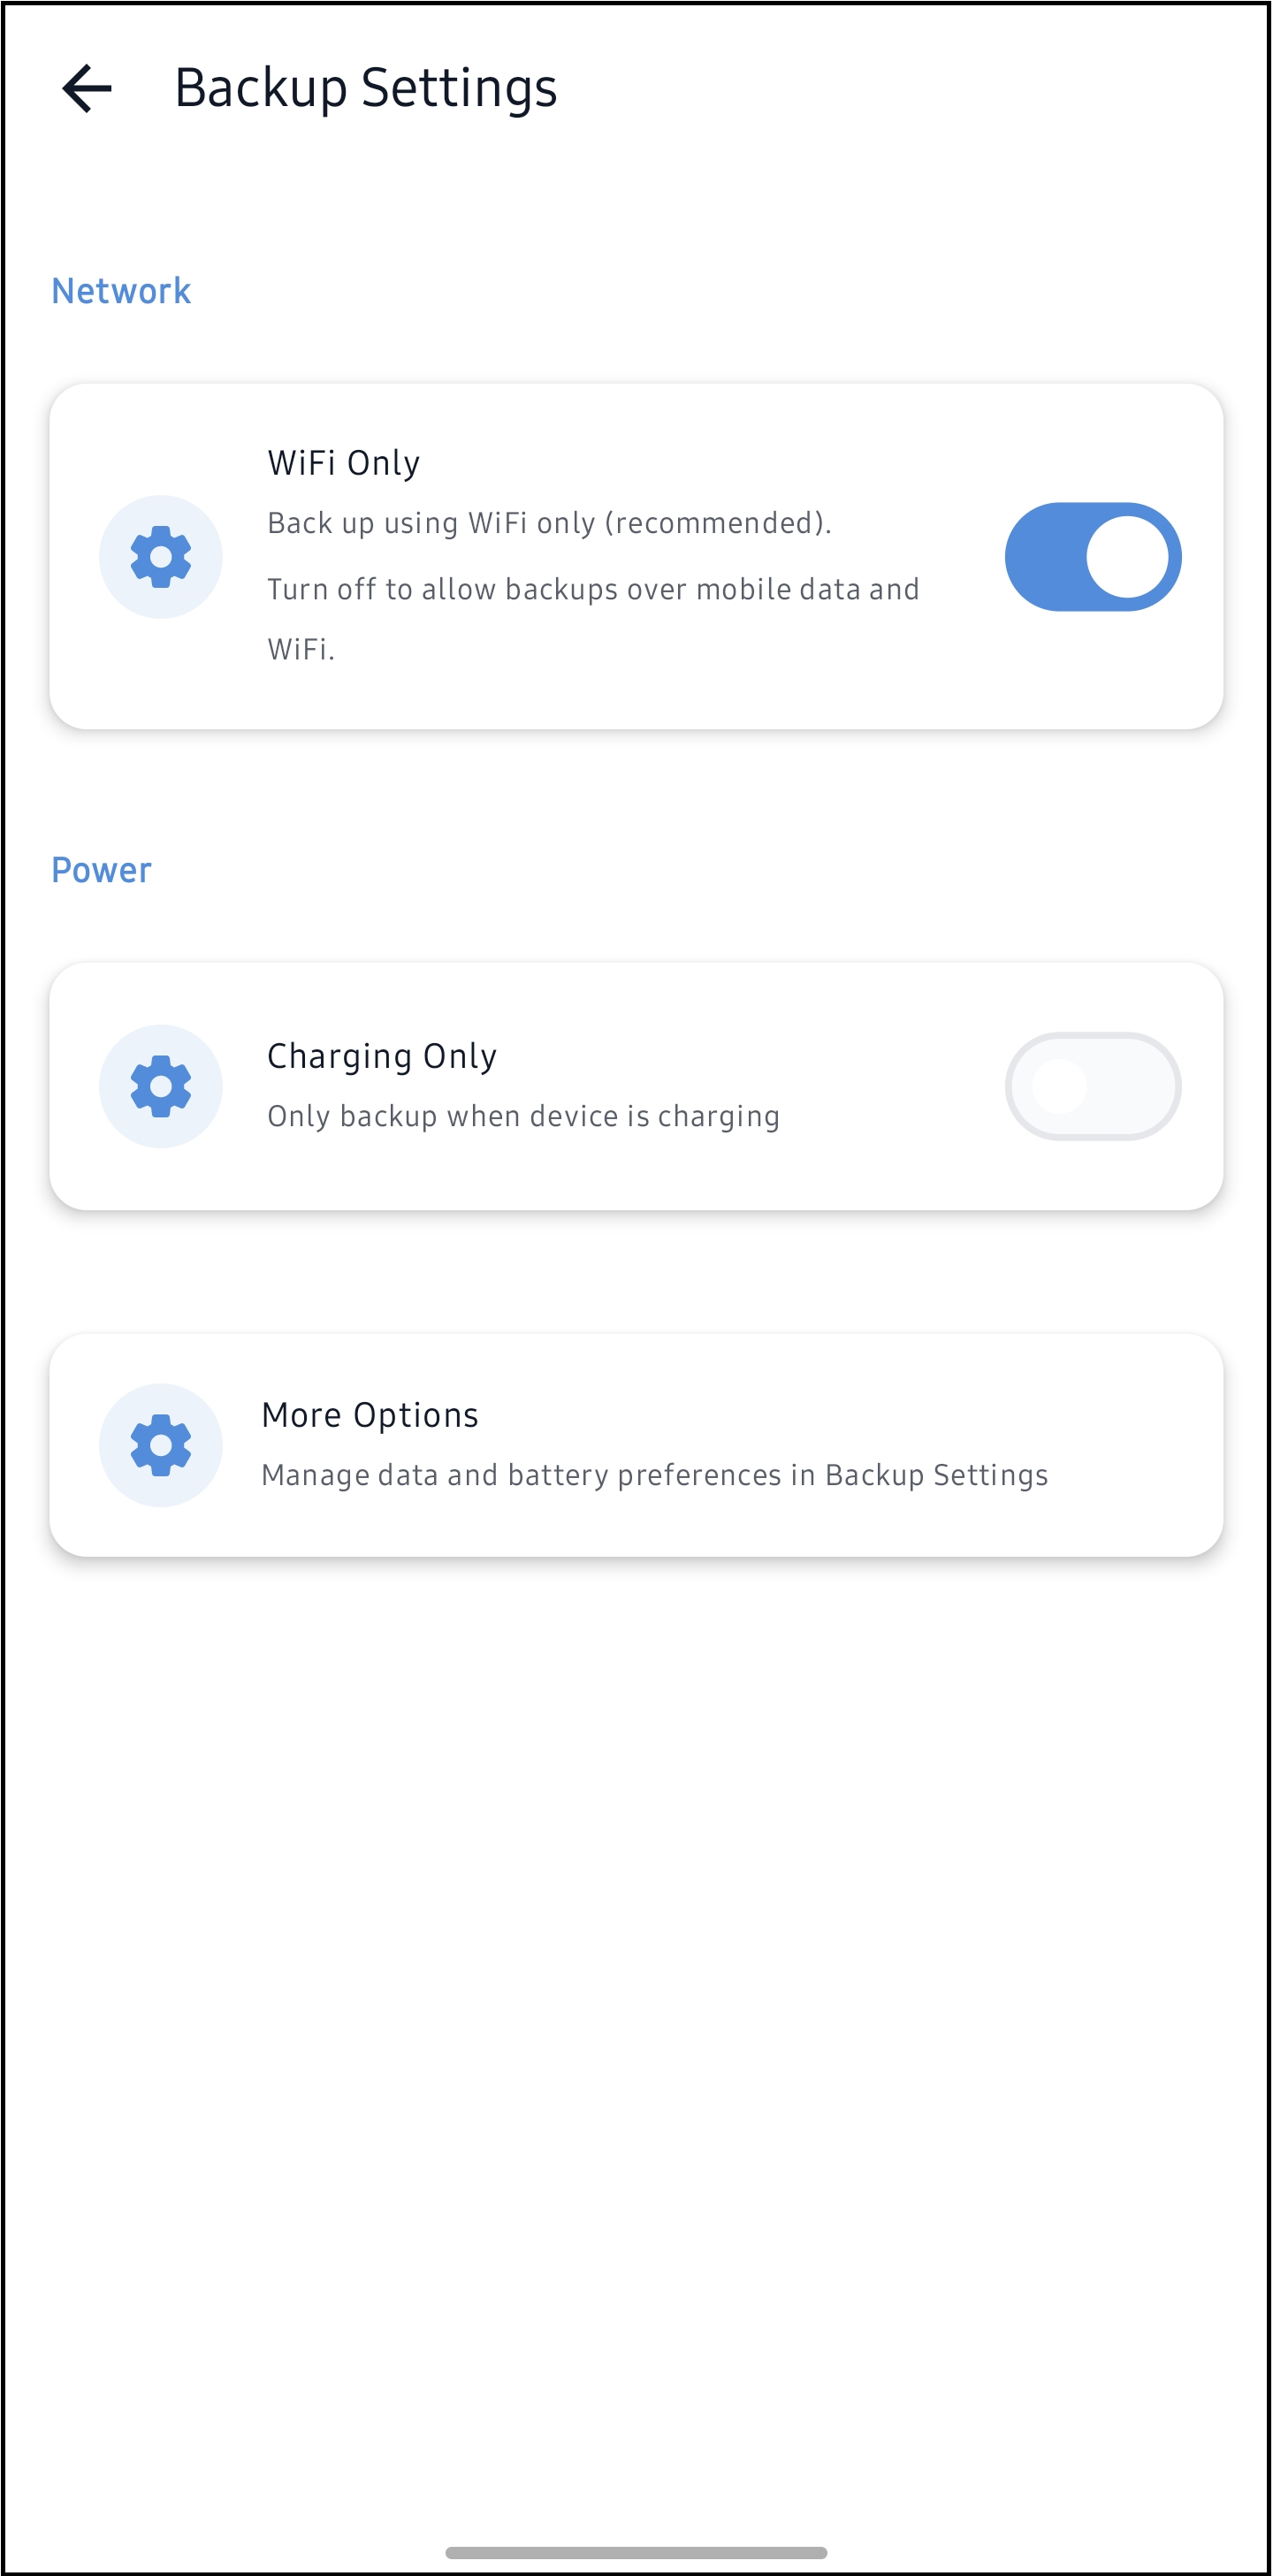
Step 6. Go back to the Settings screen and tap Backup Settings.
Step 7. Additional network and power options are displayed there, such as:
- Back up only while charging.
- Avoid backups using mobile data (WiFi only).
Step 8. Return to the main screen (Home) of the G Cloud Backup app and exit when finished.